
How to install a dimmer switch on a standard light
A practical, code-aware walkthrough for swapping a standard light switch for a dimmer in Findlay, Ohio - plus load limits, wiring checks, and when to call an electrician.
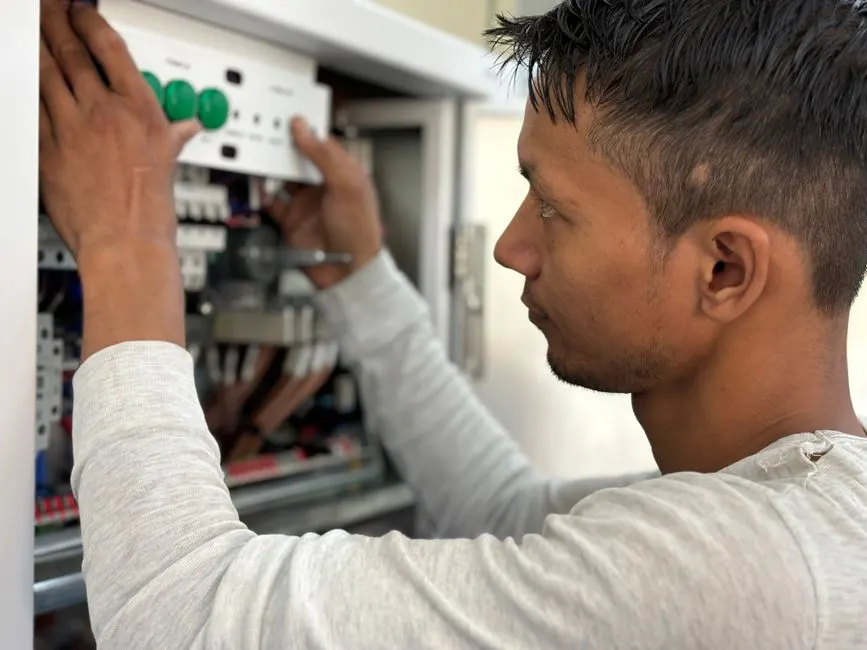
Installing a dimmer switch on a standard light means replacing your existing single-pole switch with a dimmer that matches your bulb type and total wattage, then reconnecting the two hot wires and the ground. On a typical 15-amp circuit in a Findlay home, that job takes 20 to 40 minutes once the breaker is off and the wall box is clear. The rest of this guide covers the tools, the wiring sequence, load limits, and the mistakes that cause flicker, buzz, or a dimmer that dies in a month.
We do this work every week across Hancock County, and the failures we see almost always trace back to one of three things: an incompatible bulb, an overloaded dimmer, or a wall box with no neutral and no room. Get those right and the install is straightforward.
What you need before you start
Dimmer switch installation is a low-voltage-risk job only if you kill the circuit first - and confirm it's dead with a tester, not by trusting the breaker label. Before you touch a wire, gather the right parts and confirm your box can take the dimmer.
You'll need:
- A non-contact voltage tester and a multimeter
- A flathead and Phillips screwdriver, plus a wire stripper
- Wire nuts or lever connectors rated for the wire gauge in the box
- A dimmer rated for your bulb type (LED, CFL, or incandescent)
- Electrical tape and a flashlight or headlamp
Check the wall box depth. A standard single-gang box is about 2 inches deep; a dimmer body is bulkier than a toggle switch, so if the box is packed with wire nuts and a pigtail, you may not fit the dimmer without cutting the wires back. If the box is metal and ungrounded, stop and call us - that's a sign of older wiring that needs attention before you add a dimmer.
For homes in Findlay's older neighborhoods - the blocks around South Main and the streets near the Blanchard River - we often find cloth-wrapped or aluminum branch wiring behind the switch plate. A dimmer can work on those circuits, but the connections need to be redone properly, and that's usually a job for Electrical Rewiring Findlay OH rather than a DIY swap.
Step-by-step dimmer switch installation
The sequence below is the same one our technicians follow on a standard single-pole switch. If your switch has three or more wires plus ground, you're looking at a three-way or four-way circuit, and the wiring is different - see the FAQ below.
- Kill the power. Turn off the breaker that feeds the switch. Test every wire in the box with a non-contact tester, then confirm with a multimeter between each hot and ground.
- Remove the switch plate and switch. Take out the two screws holding the switch to the box, then photograph the wiring before you disconnect anything.
- Identify the wires. On a standard switch you'll see two black (or one black and one red) hot wires and a bare copper or green ground. A white neutral may be capped in the back of the box - dimmers don't need it, but smart dimmers do.
- Disconnect the old switch. Loosen the terminal screws and pull the wires free. If the wires are backstabbed (pushed into holes in the back), cut them clean rather than yanking - backstab connections loosen over time.
- Connect the dimmer. One hot wire goes to the dimmer's line terminal (often labeled LINE or marked black), the other to the load terminal (LOAD). Ground goes to the green screw or green wire. Strip about 3/4 inch of insulation, twist clockwise, and secure with a wire nut.
- Fold and mount. Gently fold the wires into the box, seat the dimmer, and drive the screws. Don't overtighten - you can crack the plastic face.
- Restore power and test. Turn the breaker back on and test the dimmer through its full range. If it flickers, buzzes, or only works at full brightness, the bulb or load is the problem, not the wiring.
If at any point you find scorched wire nuts, melted insulation, or a box that's warm to the touch, stop. Those are signs of a circuit that needs more than a dimmer - often a New Circuit Installation Findlay OH to take the load off an overloaded line.
Matching the dimmer to your bulbs and load
The single biggest cause of dimmer failure is a mismatch between the dimmer's rating and the bulbs it controls. A dimmer rated for 600 watts of incandescent will only handle about 150 watts of LED - the inrush current on LEDs is different, and the dimmer's electronics can't handle the same load.
Here's the rule of thumb we use:
- Incandescent/halogen: use the full wattage rating printed on the dimmer.
- LED/CFL: use no more than 25% of the incandescent rating. A 600W dimmer handles about 150W of LED.
- Mixed loads: add up the LED wattage first, then the incandescent, and keep the total under the LED limit.
Bulb compatibility matters just as much. Not every LED is dimmable, and even dimmable LEDs vary in how they behave on a standard leading-edge dimmer. If your new dimmer buzzes or the bulbs flicker at low settings, you have two fixes: switch to a dimmer designed for LED loads (often labeled "LED-compatible" or "CL"), or swap the bulbs for a brand the dimmer manufacturer lists as compatible.
In Findlay, we see this most often in kitchens and dining rooms where someone replaced six 60-watt incandescent bulbs with 9-watt LEDs on a 600W dimmer. The math says it's fine - 54 watts total - but the dimmer still flickers because it's an older leading-edge unit. A $25 LED-rated dimmer solves it.
If you're adding a dimmer to a circuit that already carries a ceiling fan, a bathroom exhaust, or a kitchen appliance, check the total load on the breaker. A 15-amp circuit at 120 volts gives you 1,800 watts of capacity, but you should stay under 80% - about 1,440 watts - for continuous loads. If you're close to that, a Dedicated Circuit Installation Findlay OH is the right fix.
Common mistakes we see on dimmer installs
Most DIY dimmer failures come down to a handful of repeatable errors. Here's what we find when we're called to fix a dimmer that stopped working.
- Not confirming the breaker. We've seen homeowners shut off the wrong breaker and work a live box. Always test.
- Using the ground as a neutral. Dimmers don't need a neutral, but smart dimmers do. If you wire a smart dimmer without a neutral, it won't power up - and using the ground as a neutral is dangerous.
- Overloading the dimmer. The 25% LED rule catches most people. If your dimmer is warm to the touch after an hour, it's overloaded.
- Mixing dimmer types. A leading-edge dimmer on a bulb designed for trailing-edge (or vice versa) causes flicker and buzz. Match the dimmer to the bulb.
- Backstabbing the new dimmer. Push-in connections loosen. Use the screw terminals.
- Ignoring the box fill. Too many wires in a shallow box means the dimmer won't seat, and the wires can overheat.
One more: if the switch you're replacing controls a receptacle in the room - common in older Findlay homes - you can't just swap in a dimmer. Dimming a receptacle is a code violation and a fire risk. That circuit needs to be split, which is a job for a licensed electrician.
When to call a professional
Call us when the wiring behind the switch doesn't match what you expected, when the breaker trips after the dimmer is installed, or when you're adding more than one dimmer on the same circuit. Those are the three situations where a DIY swap turns into a bigger repair.
We also get called when a homeowner wants a dimmer in a room with no existing switch - a closet, a basement stairwell, or a finished garage. That's not a dimmer swap; it's a new switch leg, and it usually means running wire from the nearest power source. We handle that as part of our Light Switch Installation Findlay OH service, and we'll tell you upfront what it costs before we start.
If your home was built before 1980 and still has two-prong outlets or a fuse box, a dimmer install is a good time to look at the whole system. We can check the panel, the grounding, and the branch circuits in one visit.
Frequently Asked Questions
Can I install a dimmer switch on any standard light?
Yes, if the light is on a standard single-pole switch and the bulbs are dimmable. You can't dim a receptacle, a fluorescent fixture with a non-dimmable ballast, or most ceiling fans unless the fan is rated for it. Check the bulb packaging first.
How much does dimmer switch installation cost in Findlay in 2026?
DIY parts run $20 to $45 for a quality LED-rated dimmer. Hiring a licensed electrician for a single dimmer swap in Findlay typically runs $95 to $185 in 2026, including the dimmer. Multiple dimmers on the same visit bring the per-switch price down.
Why does my new dimmer flicker or buzz?
Flicker and buzz almost always mean a bulb-dimmer mismatch or an overloaded dimmer. Switch to a dimmer rated for LED loads, or replace the bulbs with a brand the dimmer manufacturer lists as compatible. If it still buzzes, the dimmer is overloaded.
Do I need a neutral wire for a dimmer switch?
A standard dimmer doesn't need a neutral - it works with the two hot wires and ground. A smart dimmer does need a neutral, and many older Findlay homes don't have one in the switch box. If yours doesn't, we can run a neutral or recommend a no-neutral smart dimmer.
Can I put a dimmer on a three-way switch?
Yes, but you need a three-way dimmer, and only one of the two switches can be the dimmer. The wiring is different from a single-pole swap - there's a traveler wire involved. If you're not sure which switch is which, call us before you start.
Get help with New Circuit Installation & Rewiring in Findlay
If your dimmer project turns into a wiring repair, a panel issue, or a new circuit, we can handle it. Circuit & Rewiring Pros serves Findlay and the surrounding Hancock County area with licensed electrical work, upfront pricing, and same-week scheduling.
Call +14197996088 to book a visit or ask a question about your specific setup. We'll tell you what the job needs and what it costs before we pick up a tool.